

Select your stone
Beauty is in the eye of the beholder and like all things the deeper you look the more complexities you find.
However here are some guidance thoughts:
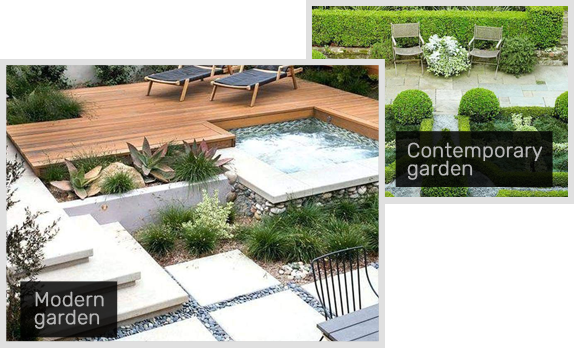
Broadly speaking you can classify paving or wall stone or wall cladding as being suited for a “modern” or a “contemporary” location.
By way of example at the modern end of the scale there will be stone which is machine sawn on all faces and may have the top face treated in some way to alter it, costs per M2 go from low (usually low in quality as well) to expensive. At the contemporary end of the scale you could typically have a reclaimed York stone which was cut by hand centuries ago and has a patina covered face worn smooth by thousands of feet, this is very much the go to traditional country cottage look type stone and it is very expensive.
In the middle you have products like cobbles of varying materials, usually with a “riven cut or natural looking” face.
We have purposely avoided having a huge range with exotic names; instead we have selected a limited range of quality products at great prices from which we believe you will find something to suit most garden styles.
Stone Thickness
Unless stone is mechanically sawn or a man made composite then its stated thickness will be an average. This is because when stone is split, the split will follow grain lines and the grain lines are not parallel.
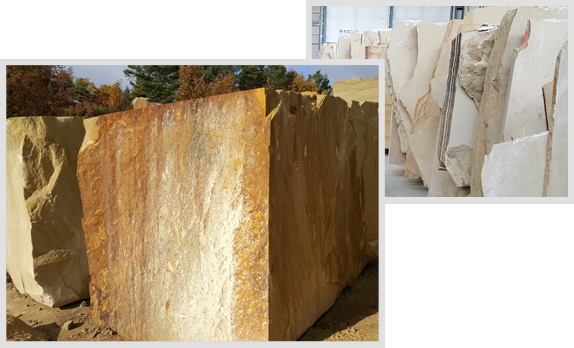
These variations are part of what gives it its natural beauty. It is possible to get hand split stone of an even thickness (calibrated) and that is done by machining one face, which adds to production costs but saves a bit in laying costs. If you are seeking a price for installation then to avoid arguments later you should always tell the contractor exactly what stone you are going to want laid as workmanship levels vary according to the stones finish and size. For example you will pay top dollar for installation of huge heavy pieces of Yorkstone which are irregular in size and thickness and need cut and more bed preparation.
Generally speaking for paths and patios that will not see vehicular traffic, or if so only occasionally, the average thickness for a weaker stone such as sandstone should be 20mm, stronger stone such as granite, gneiss and certain slates can be a bit less.
For driveways or areas which could see regular vehicular traffic, sandstone should be 40mm thick with stronger stone again being a bit less.
Provided a strong sub base is provided it is possible to use 20mm for driveways, but the cost per M2 of preparation and creation of a suitable base can outweighs the saving in stone
It is worth bearing in mind that in almost all cases the cost per M2 of preparation is usually more than the cost per M2 of stone, so the cost of the stone is not your projects biggest cost item.
Laying tips
he internet and You Tube are full of information on how to lay paving so we are not going to replicate that here. Instead we will summarise what we suggest are the key points
Below is a cross section of a typical paving construction.
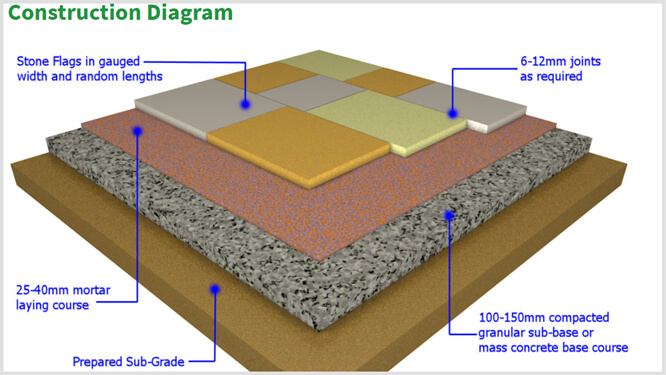
The key components are:
- The ground or Sub Grade
- The Sub base
- A mortar course
- The pavers
After the pattern and the area to be paved has been established and marked out, then unless you already have a good “sub base” which is at the correct height then you need to clear and excavate the ground to create a sub base.
Sub base:
The Sub base is a support bed made of a material mix frequently referred to us Type 1, this is a standard quarry product and is simply a mix of crushed stones within certain size parameters and stone dust which when laid and compressed will bind together to form a strong bed which spread loads to the ground below but will also drain. Some different types of sub base materials are shown below.
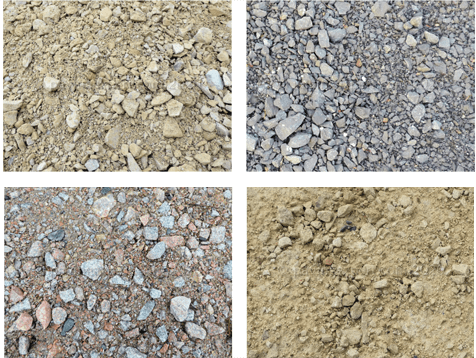
The purpose of a sub base is to create a stable platform which will transmit loads from the pavers on to a larger ground surface area thereby avoiding collapsing or cracking of you pavers.
The rule of thumb for sub base thickness is 75 to 100mm for patios and paths and 100 – 150mm for domestic driveways and public footpaths.
Mortar Laying Course:
This is bedding mortar mixture consists is 25 to 40mm thick for patios and paths and 50 to 100mm for domestic drive s consisting of 4 units of soft building sand to 1 part of cement. This could be strengthened to 3 parts sand to 1 part cement for high traffic areas.
Jointing:
There are so many different ways of doing this and materials for doing it that it is just not practical to summarise or make suggestions, again the internet is your best source of advice.
Maintenance tips
Natural stone paving is relatively low maintenance once laid. The pointing is the weakest element and may need to be replaced after a number of years.
Sweep regularly with a stiff brush to remove dust and detritus. There is a tendency for algae, lichens and mosses to grow on stone paving that is permanently shaded and/or damp. This can be safely removed by a pressure washer or, by the use of proprietary and suitable patio cleaners
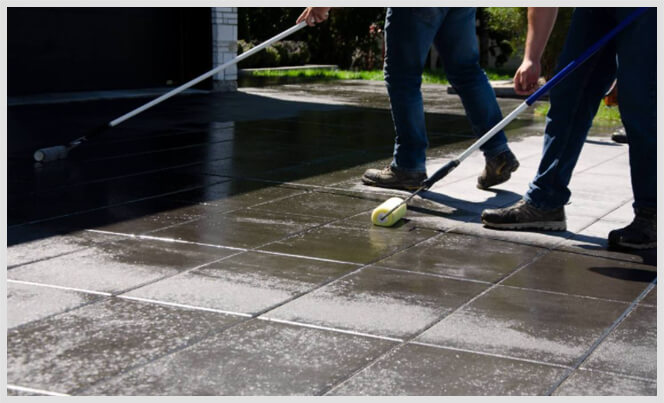
It’s generally advised to seal a natural stone to help prevent any staining, as well as helping to prevent the growth of any moss or algae. You may especially want to consider sealing if your stone is light in colour, as any stains will be more visible. However, sealing is not compulsory and there is a wide range of sealing products on the market which will provide various results. Some sealants will simply seal and protect, whereas others can be used to enhance the colour of your slabs. Sealing your natural stone patio will also help to protect against other general wear such as fading which can sometimes occur over long periods in places where the stone is likely to see heavy use.
As for when to apply a sealer, there are no specific guidelines. Some people choose to seal their paving slabs before laying to prevent any staining during the laying process and others prefer to leave their stone unsealed for up to a year, allowing the sandstone to weather naturally before applying a sealant. We always advise speaking to a local tradesperson who will be able to assess the many variables within your environment and offer specific advice for your project.
 Search
 Favorites
 Cart
Cart